Editing a Rule
You can edit the items and properties of a rule at any time. The following process details these editing options.
To edit a rule:
-
(optional) Temporarily stop event processing in the Rules Engine. See Pausing and Resuming Rules Engine Event Processing.
-
Select the rule type from the app’s sidebar.
-
In the Rules and Items panel's RULES tab, select the rule to be edited.
-
Change the name of the rule: In the Details pane, replace the current name in the Rule Name field.
Rule names need to be unique. If you enter a name that is already used for another rule, the name will be appended with a counter in brackets when you save the rule.
-
Click the Expand toggle button in front of Additional information and change the comment in the Comment text box.
-
Change the status of the rule: In the Details panel, do one of the following:
-
To enable a disabled rule, click the gray Enable toggle so it turns blue.
-
To disable an enabled rule, click the blue Enable toggle so it turns gray.
-
-
Replace the trigger.
-
In the Define Rule panel, hover the cursor over the trigger, click the Delete button that is shown.
-
Confirm the Delete Trigger security prompt by clicking Delete.
-
In the Rules and Items panel's ITEMS tab, click the trigger you want to add.
-
-
Change the conditions of the entity.
-
In the Define Rule panel, select the entity.
-
In the Details panel, expand all conditions.
-
Change the parameters of a condition. You have the following options:
-
Change the attribute.
-
Change the comparison operator.
-
Add an additional value, change the value or delete a value (if supported by the selected operator).
-
Change the match type (if supported by the selected operator).
-
-
Move a condition:
-
Hover the cursor over the condition header.
-
Click the Move up or Move down button that is shown. Condition 1 only shows the Move down button, the last condition only shows the Move up button.
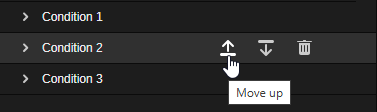
The condition is moved, and the condition counter is adapted accordingly.
-
-
Remove a condition:
-
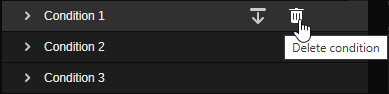
Hover the cursor over the condition header.
-
Click the Delete condition button that is shown.
-
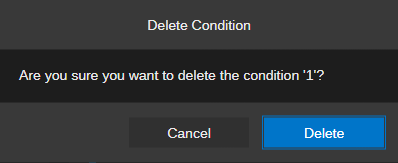
Click Delete in the security prompt that is shown.
-
-
Change the way how all conditions are to be combined by clicking the AND or OR button.
For more information, see Defining Conditions for an Entity.
-
-
Add an action.
-
In the Rules and Items panel's ITEMS tab, click the action you want to add.
-
Define at least the mandatory properties of the action.
-
-
Delete an action.
-
In the Define Rule panel, hover the cursor over the action.
-
Click the Delete button that is shown.
-
Click Delete in the security prompt.
-
-
Change the parameters for a Notification action.
-
In the Define Rule panel, select the action Notification.
-
In the Details panel, type another text that is to be shown as subject of the notification in the Subject field.
-
Type another message text in the Message field.
-
Select other users that should receive the notification from the Recipients list.
For more information, see Defining a Notification Action.
-
-
Click the Save button to save the rule.
If the rule shows validation issues, a Validation dialog box opens that summarizes the validation issues. Click Save Anyway to save the rule with all validation issues, or click Cancel and resolve the listed issues before saving again. For more information, see Validate on Save.
-
(if paused) Resume event processing in the Rules Engine. See Pausing and Resuming Rules Engine Event Processing.