Configuring the Editor Social Media Settings
Administrators can use this panel to configure one or more social media accounts that can be used in the publishing process.
If your organization has multiple accounts for the same provider, the settings allow you to create as many accounts as needed per provider. For example a local television broadcaster might want to create an account for their station's homepage in addition to a personal account for the lead anchor — both are possible. As shown in the following illustration, each profile appears as a separate tab in the render output window.
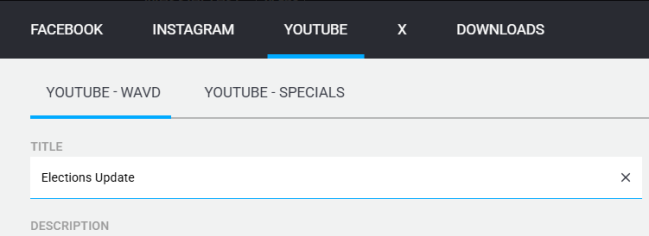
Example deployment configured for Facebook, Instagram, X, and two YouTube accounts (WAVD and SPECIALS).
The Social Media Settings allows you to configure profiles for the following platforms:
-
Facebook
-
Instagram
-
TikTok
-
X
-
YouTube
To enable the Downloads option, see General Settings.
To create a new social media output profile:
-
Select the Social Media option from the Web Editor Settings sidebar.
-
Click the Add New button.
-
Select a social media platform from the context menu.
-
Provide the profile with a name.
This name is displayed in the render output window.
-
Enable (default) or disable the Shared Source toggle.
If you leave this setting enabled, all users are allowed to see this profile after you save. If you click the button to disable the toggle, the profile is visible only to the Web Editor administrators group. This allows you to test the profile before enabling it for wider use.
-
Click the Sign In button to connect to the social media platform and provide the platform with any required credentials.
The profile is updated to indicate that it can now publish to your account.
-
Click Save to complete the profile creation process.
To delete a social media profile:
-
Select the Social Media option from the Web Editor Settings sidebar.
-
Click the delete icon to the right of the profile.
The app displays a Delete confirmation dialog window.
-
Click the Delete button to confirm the removal of this profile.